I hope all of you had a fabulous holiday! It was a time of much eating and enjoying; the feast my grandma created was, as always, amazing and delicious. She's promised to send me the recipes for my two favorite Thanksgiving dishes: stuffing and the cranberry Jell-O mold she makes every year. Saturday night was Thanksgiving: The Reheating at my house, supplemented with some fresh treats. We made mashed potatoes, corn, and I knew I needed to whip up a dessert that could stand toe-to-toe with the pumpkin and Dutch apple pies we were served on Thanksgiving.
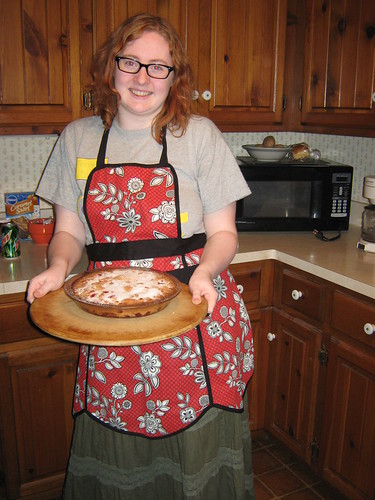
Yep, this is my Saturday night hobo cooking gear: a drama camp t-shirt, an old peasant skirt, and my apronThis is the
Nantucket Cranberry Pie from Pioneer Woman (my all-time favorite recipe blog! I have never been disappointed with anything I made from one of her recipes...every time I try a new one, I'm sure it's going to be delicious. Do you have a blog like that?) It's tart and sweet and fresh and
super easy. Plus, ultra seasonally appropriate!
My mom picked up my camera while I was making it yesterday, so I have some actual in-progress shots of the highly technical process.
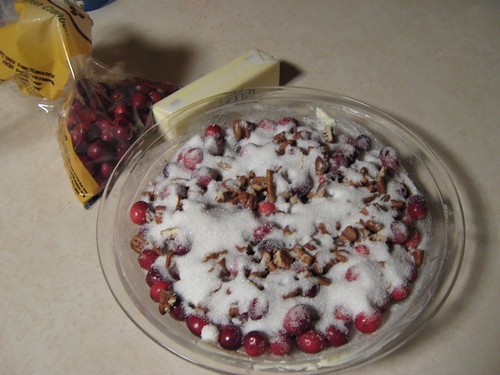
First, add cranberries and some chopped pecans to a buttered pie plate. Be liberal with sugar! My family thought this looked like a winter scene, and I totally agree. Slap that on your holiday card!

Then, mix up a delicious batter of flour, sugar, eggs, butter, and a bit of salt and almond extract. Sniff heartily, then go around the kitchen and make sure all of your family members (including those on the phone) check out how good it smells.
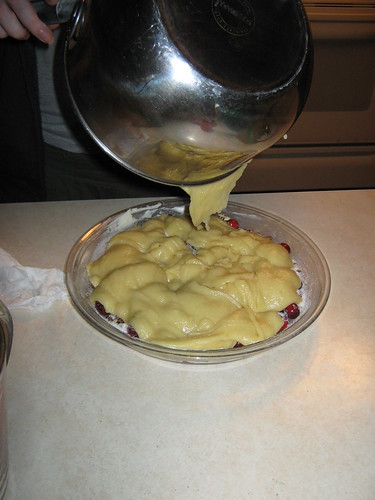
It'll be
thick! Pour it in ribbons over your delicious berries and nuts, then spread it over any holes until it looks like this:
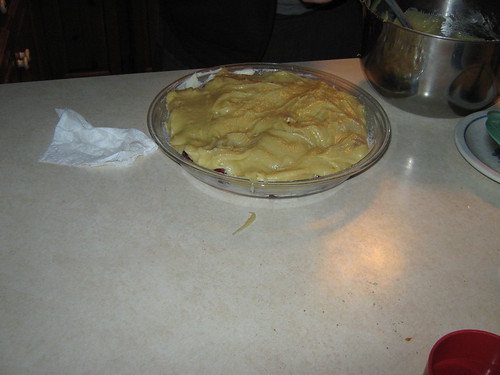
Mmmm, lumpy! Don't worry, it'll cook up justttt fine. Place in your preheated oven, and bake for 45-50 minutes, or just under 40 if you've recently replaced the heating coil and your oven is now a Super Oven that burns anything you don't keep an eye on. I didn't get a photo of this one, but a few minutes before you take it out, sprinkle some sugar on top to make a tasty sweet crust on top. Let cool slightly, and serve with vanilla ice cream. Magical!
Oops, I forgot the most important step!
Make sure you have a Very Interested dog to keep an eye on you while you cook.

(Don't worry about Beau, anybody! He's been having some skin problems, which is why he's missing fur, but he's on medication and has been feeling much better.)
And that's a Nantucket Cranberry Pie! It was really delicious, and my dad actually suggested that I send my Grandma the recipe in exchange for the ones she's sending me! Obviously, my family thought pretty highly of it if it could be considered worthy of a family recipe. I definitely intend to make this one a classic in my house; I'll probably make it again for the Thanksgiving III: Electric Boogaloo I'm throwing for the immediate fam in December. Maybe even for Christmas!
Nantucket Cranberry PieFrom
Pioneer Woman
- Butter for greasing
- 2 cups (heaping) cranberries
- 3/4 cups pecans, chopped
- 2/3 cups sugar
- 1 cup flour
- 1 cup sugar
- 2 eggs, beaten
- 1 stick butter, melted
- 1 tsp almond extract
- 1/4 tsp salt
- 1 tbsp sugar for sprinkling
Preheat oven to 350. Butter a pie or cake pan. Add cranberries, chopped pecans, and 2/3 cup sugar. Combine flour, 1 cup sugar, eggs, butter, almond extract and salt in a mixing bowl, then pour over the nuts and berries. Spread gently to cover. Bake for 40-50 minutes, removing 5 minutes early to sprinkle with 1tbsp sugar before returning to the oven. Let cool slightly, and serve!


